Domestic Content: Addition of new components
- XR BOSS Splice
- XR10
- XR100
- Aire Rail A1 (Blk)
- Aire Tile, A1 (Splice)
Make Your Flat Tile Projects Fly!
Mounting Conduit on Tile Just Got Easier
Urban and suburban areas, wooded areas, or other terrain with numerous closely spaced obstructions having the size of single family dwellings or larger.
Open terrain with scattered obstructions having heights generally less than 30 feet. This category includes flat open country and grasslands.
Flat, unobstructed areas and water surfaces. This category includes smooth mud flats, salt flats, and unbroken ice.
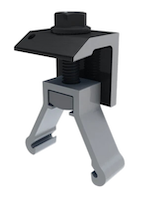
ClickFit End Clamps click onto ClickFit Rails and fit modules from 30-40mm in height. Modules are placed at least 3/4" from rail ends, for end clamp support.
The distance between roof attachments. This number should be less than or equal to the maximum span value listed for your selected XR Rail within the "Rails" section.
Typical residential installations have attachment spacing between 4' and 8', whereas commercial installations have spacing as high as 12'. Consult with a structural engineer or your local building authority to confirm the allowable attachment spacing for your array.
Design Assistant allows you to choose the proper ASCE code standard for your region: 7-10, 7-16, or 7-22.
If you do not know which code standard is being used in your region, please contact your local building department.
Design Assistant allows you to use the old ASCE 7-10 code standard, the ASCE 7-16 code standard, or the latest ASCE 7-22 code standard.
If you do not know which code standard is being used in your region, please contact your local building department.
Design Assistant requires you to use the ASCE 7-16 code standard for this project.
If you do not know which code standard is being used in your region, please contact your local building department.
Design Assistant requires you to use the ASCE 7-16 or ASCE 7-22 code standard for this project.
If you do not know which code standard is being used in your region, please contact your local building department.
Spectral response acceleration parameter at short periods.
SDS is based off of soil type D.
The panel you have picked is not included in IronRidge’s UL compatibility list.
Users are now able to add project notes for each of their unique projects. These project note sections can be found at the bottom of both the Configure page and Bill of materials page.
You'll also notice a "notes" icon for projects that have notes in the "Projects" page. These icons will be highlighted in yellow for notes written within the last day.

Users can now add custom modules not listed in Design Assistant for use on their projects. This will allow for quick BOM building with accurate module dimensions. If you'd like to have the module listed in Design Assistant, please reach out to our technical support team. There are two ways to add custom modules:
1) Head to the "Projects" page and tab over to "My Custom Panels". Once you're on this tab you can click on the "+ New panel" button or the "add one here ->" link to create a custom panel.

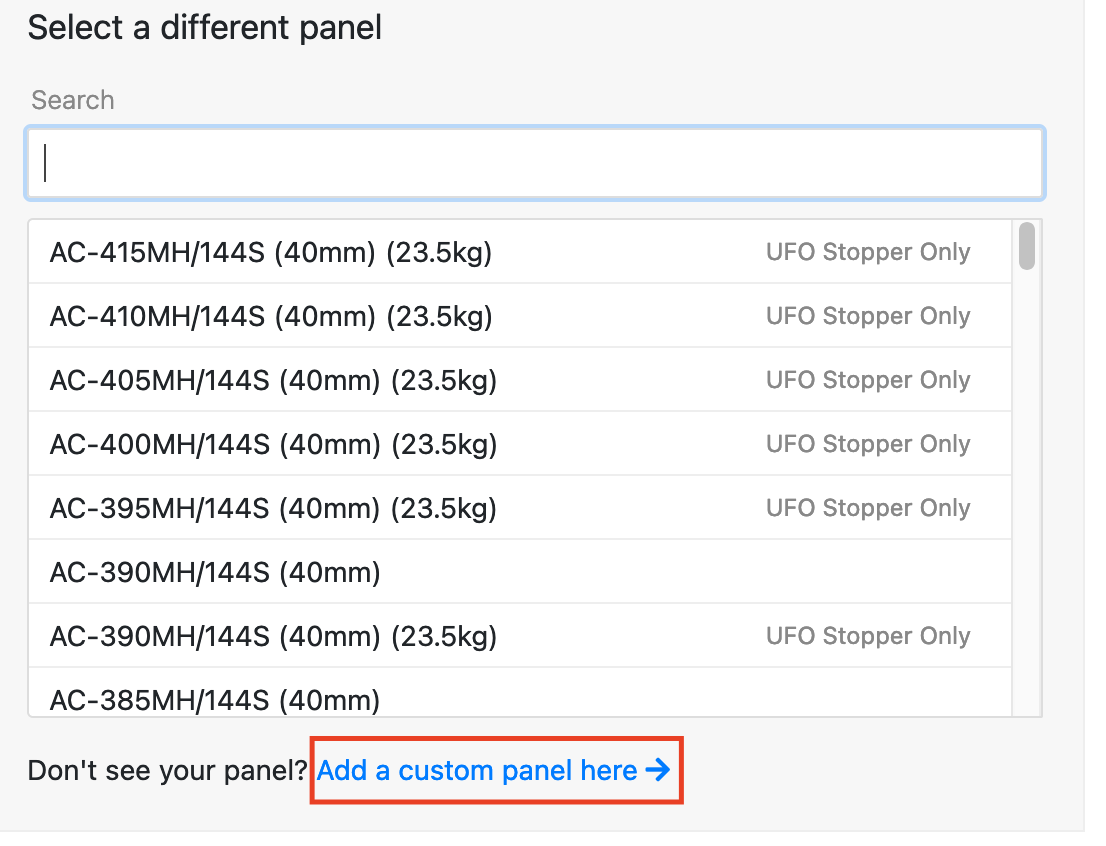
2) You can also add a custom panel when picking a panel for your project. If the module you're looking to use isn't listed, click the "Add a Custom Panel here ->" link to add a custom module.
Presets allow users to configure a project and generate a bill of materials more quickly by pre-populating user specified preset values for certain project parameters. You can add these presets in two ways.
1) Head to your "Projects" page and tab over to "My Presets". Once you're on this tab you can click on the "New preset" button or click on any of the system types linked in blue.

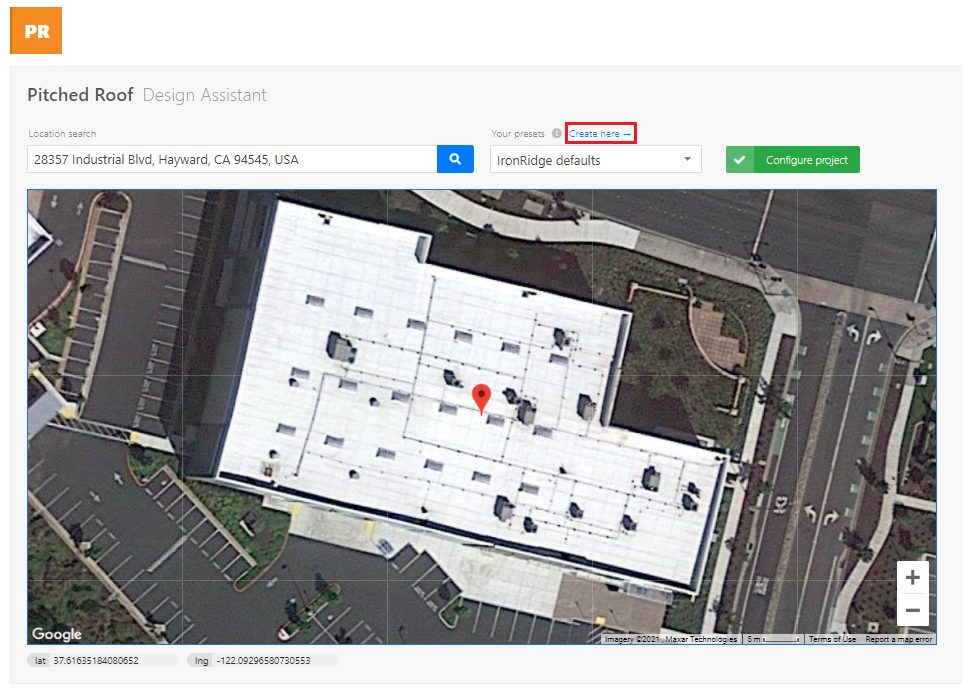
2) After you've typed in the address for your Design Assistant project you'll see a new field for your presets. You can click on the "Create here ->" link to create a new preset.
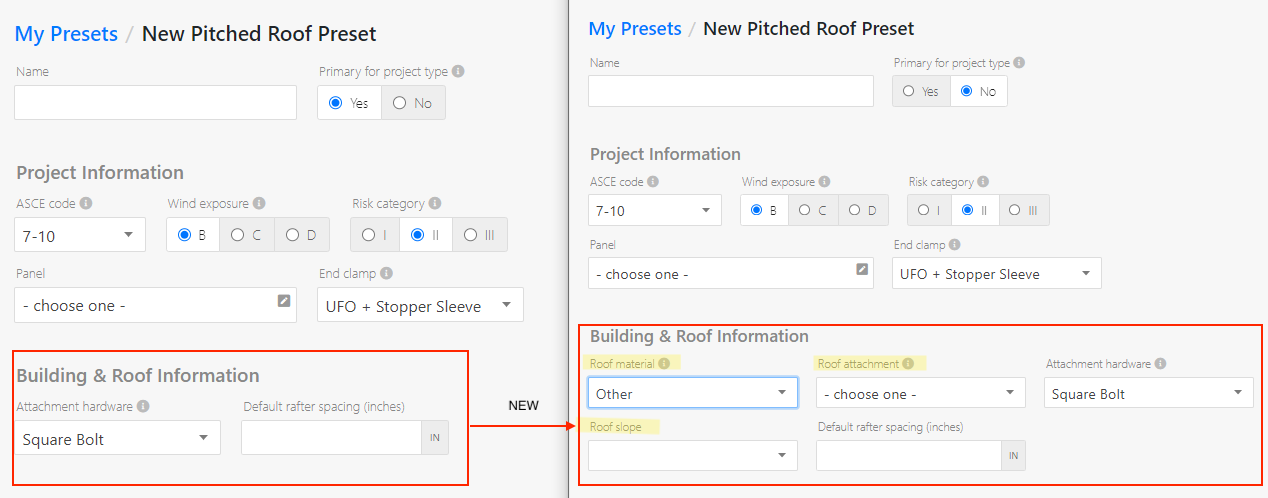
Additional fields have been added to the Pitched Roof Preset template to help speed up designing projects even more. This includes, but is not limited to, fields for roof material, roof attachment, and roof slopes. You can find these new fields under the "Building & Roof Information" section of the Design Assistant.
The height of the wall around the roof edge. If this height varies on your roof, use the average parapet height.
The thickness of the wall around the roof edge. If the build does not have a parapet, you can leave this blank or enter 0.
The dimension crosshairs are two adjacent lines that intersect at a point that follows the cursor while you move it over the graphical representation of the roof. They have dimension markers that show the approximate real distance from the cursor point on the roof to the top, right, bottom, and left roof edges.
Margin of error: The dimensions shown are not pin point accurate. They have a margin of error, ranging from 1" on smaller roofs (25' x 25') to 5" on larger roofs (300' x 300').
Snapping: When the crosshairs are in use, there is an additional setting allowing you to toggle snapping. With this setting on, the dimension crosshairs will appear to be "magnetically" drawn to the edges of the grid cells.
The shift tools will move all of the placed panels by one position on the grid. When shifting, the panels that move off of the visible grid are removed.
You can also use the arrow keys on your keyboard to move the placed panels.
A proposal is considered to be an Atlas proposal if:
Racking Accelerated!
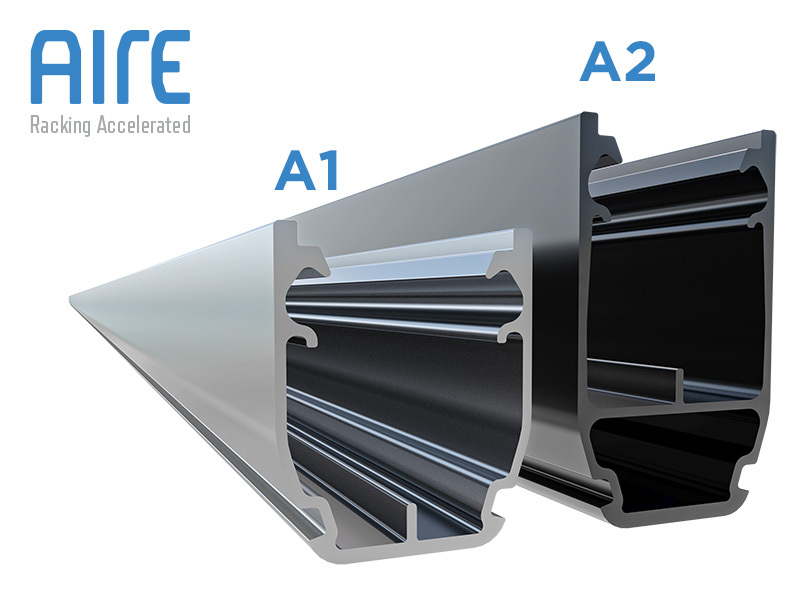
Aire® is an entirely new racking system from IronRidge - engineered for speed, precision, and quality installations.
The rails come in two sizes, A1 and A2 (in mill or black-anodized aluminum). A1 Rail meets most load conditions, while the heftier A2 Rail is best in heavy-snow and high-wind regions.
Aire® is also the only system listed as a cable tray. It uses NEC-compliant rail, with NEMA VE1 and C2.22 ratings. Everything is listed to UL 2703 and backed by a 25-year warranty.
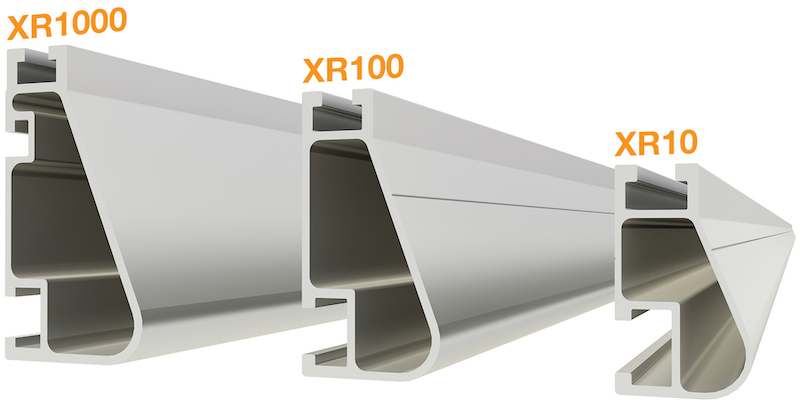
The curved shape of XR Rails© is specially designed to increase strength in both directions while resisting the twisting. This unique feature ensures greater security during extreme weather and loading conditions. XR10 is a sleek, low- profile mounting rail, designed for regions with light or no snow. XR100 is the ultimate residential mounting rail, supporting a wide range of wind and snow. XR1000 is a heavyweight among solar mounting rails, built to handle extreme conditions. All are available in mill or black anodized finish.
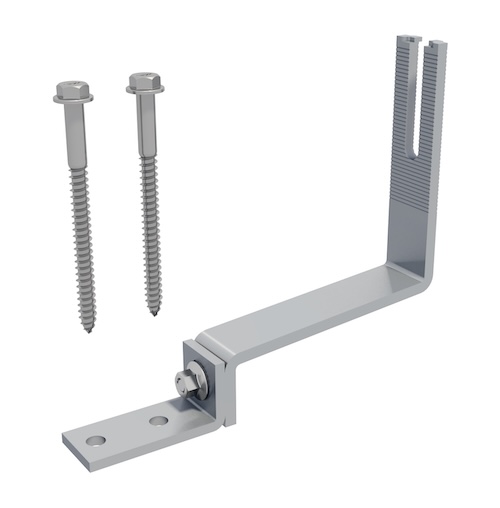
The Flat Tile Fly joins our fleet of tile roof attachment options—offering a cost-effective, flat-tile-hook solution with an open-slot for installation ease.
It comes with 7/16-inch-head lag screws and is evaluated to TAS-100(A) and listed to UL 2703 for XR and Aire racking systems. Make flat tile projects fly by!
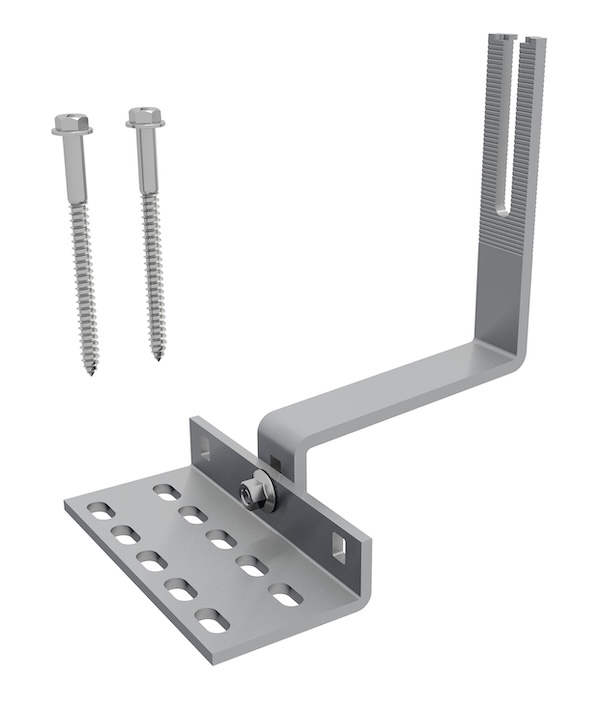
The new and improved version of All Tile Hook makes things easy. The open-slotted design is compatible with both the XR and Aire racking systems. This means only one SKU (QM-ATH-02-M1) across the board. But that's not all—we've also increased the mounting width and vertical adjustment for more flexibility and less interference.
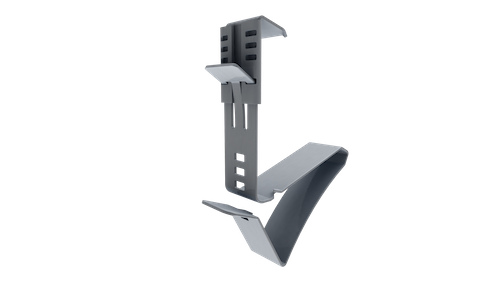
The Mantis Side Clip provides a reliable way to manage wires on module frames without the hassle of traditional (or plastic) wire clips. It can hold up to six wires and works perfectly on modules with small or no flanges, offering a secure fit that won't fall off. Mantis Side Clip can also be adjusted to fit 30MM, 32MM, 35MM, and 40MM frames.
We are letting you know that the "Atlas Proposal" tool for IronRidge design projects will be going away on June 15th. After that, any proposals opened in Design Assistant will be redirected to the native OpenSolar app for editing. New proposals can also be created by visiting OpenSolar.com.
Design Assistant tools are a part of Atlas — your digital sidekick for getting the most out of IronRidge solar racking, from design tools to expert education.
Atlas design tools are here for various application types that use IronRidge racking: pitched roofs, flat roofs (attached or ballasted), and ground-based in open fields.
You can quickly adjust project designs, produce and edit the bill of materials (BOM), and request quotes from local distributors or share it with colleagues. All for free.
Permit-ready plans sets and PE stamps can also be purchased directly in the design tools with the GreenLancer option. Learn more at IronRidge.com/GreenLancer.
Newcomers can access free courses on installation best practices, solar building codes, and more. Pros can earn NABCEP CEUs while getting a refresh on things.
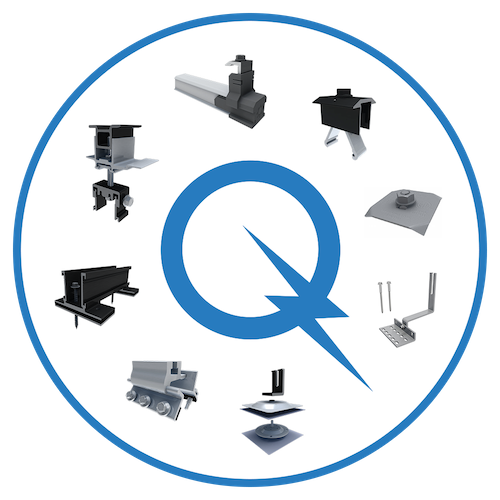
IronRidge is expanding its line of innovative solar mounting and racking solutions. Products coming over from fellow Enstall company, EcoFasten, includes the ClickFit rail-based racking system and RockIt rail-less racking system. They are both now available through IronRidge as QuickMount ClickFit and QuickMount RockIt systems.
To support these additions, ClickFit can now be selected as a rail platform in our Pitched Roof Design Assistant, and RockIt is accessible through our new Pitched Roof Rail-less Design Tool (for exclusive customers, upon request). Contact sales for more information.
Other new QuickMount products are now being offered to IronRidge customers, including Mantis Wire Clips, CorruSlide, and SimpleGrip. Simply put, many new options are here!